Docs / User / Install Bunzai
Install Bunzai
What is available today
Use the download page to choose Windows, Linux or macOS. It reads the files actually published on GitHub. New releases have Bunzai.exe for Windows, Bunzai-Linux.deb for Ubuntu and Debian, Bunzai-Linux for any other x64 Linux, Bunzai-macOS for Apple Silicon Macs (not signed by Apple), and SHA256SUMS, a list of fingerprints for checking a download arrived undamaged. Everything except Windows is experimental: the main contributors are on Windows, so other systems get less testing. GitHub's automatic source archives are for development. Older releases can still show more files.
On Windows, double-click Bunzai.exe. On Ubuntu or Debian, double-click Bunzai-Linux.deb, choose Install, then open Bunzai from your apps (or run sudo apt install ./Bunzai-Linux.deb). On other Linux, run chmod +x Bunzai-Linux && ./Bunzai-Linux in a terminal. On Linux, Bunzai opens in your browser; closing the tab does not stop it, so use Settings > About > Quit Bunzai, or close the terminal if you started it from one. Opening it again while it runs reopens the same Studio. Older Linux downloads named bunzai-cli-linux-x64 need ./bunzai-cli-linux-x64 ui instead. If no matching download exists, use the source steps below rather than a guessed asset URL.
New supported app builds include the remote-access helper in the same executable. On startup the app
prepares a verified local copy automatically, with no second download. Remote access stays off until
you enable it in Settings > Remote access. Separate sidecar-* assets on older releases remain
for source setups and recovery; new normal releases do not publish them. Do not open them directly. An already installed older executable
does not gain a bundled helper from a source update: replace it with a release that includes this
packaging change, or use the verified helper download offered in Settings.
Kit is available from a source checkout for development and is not included in release downloads. The browser-only Studio preview is useful for trying import, editing, and export, but its data is held in the tab and disappears when the page is reloaded. Playing scenes requires the installed app.
Run from source
Use the Bun version pinned by this checkout: 1.4.2. Bun's official installation instructions cover Windows, macOS, and Linux. After installing, open a new terminal and check bun --version.
In the terminal, run:
git clone --recurse-submodules https://github.com/Vaudeville-Studios/Bunzai.git
cd Bunzai
bun install --frozen-lockfile
bun run dev
The recursive clone fetches the pinned RP-Core submodule used by the application. Bun installs the versions recorded in the lockfile. The command starts the Studio server on your computer and prints the address to open; it uses http://127.0.0.1:8321 by default. If another program owns that port, Bunzai checks the next ten candidate ports and prints the one it bound. Keep the terminal open while you use the Studio; press Ctrl+C there when you are finished.
Advanced: CLI and Linux ARM64
CLI commands are useful for automation and bulk conversion; use bun run src/cli.ts help from the
checkout. ARM64 computers and servers can run the same source workflow. To compile an ARM64 executable,
build its matching embedded helper with bun sidecar/build.ts --target=linux-arm64 (Go is required),
then run bun run scripts/build-desktop.ts --no-desktop --cli-targets=bun-linux-arm64. The result isdist/bunzai-cli-linux-arm64; launch its Studio with ./bunzai-cli-linux-arm64 ui. Normal users do not
need this extra build or the internal Windows CLI used by release verification.
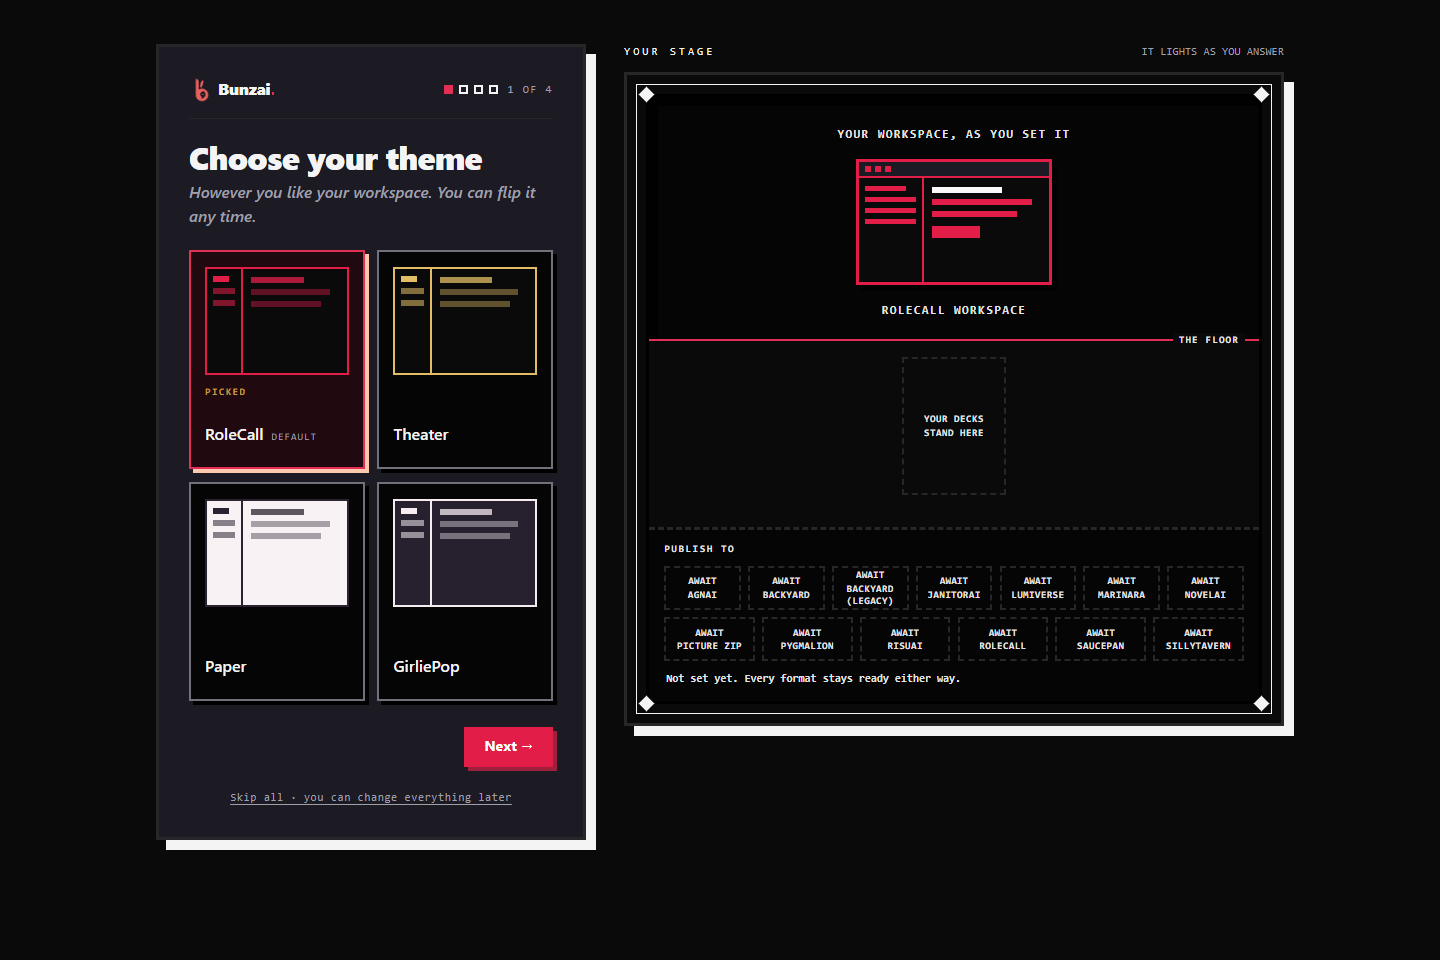
First launch
On a new studio folder, the first-run wizard offers choices for appearance, the kinds of pieces you work with, publish targets, and an accent color. You can skip the questions; the choices can be changed later in Settings. After setup, open the Library to import a supported character or create a blank piece.
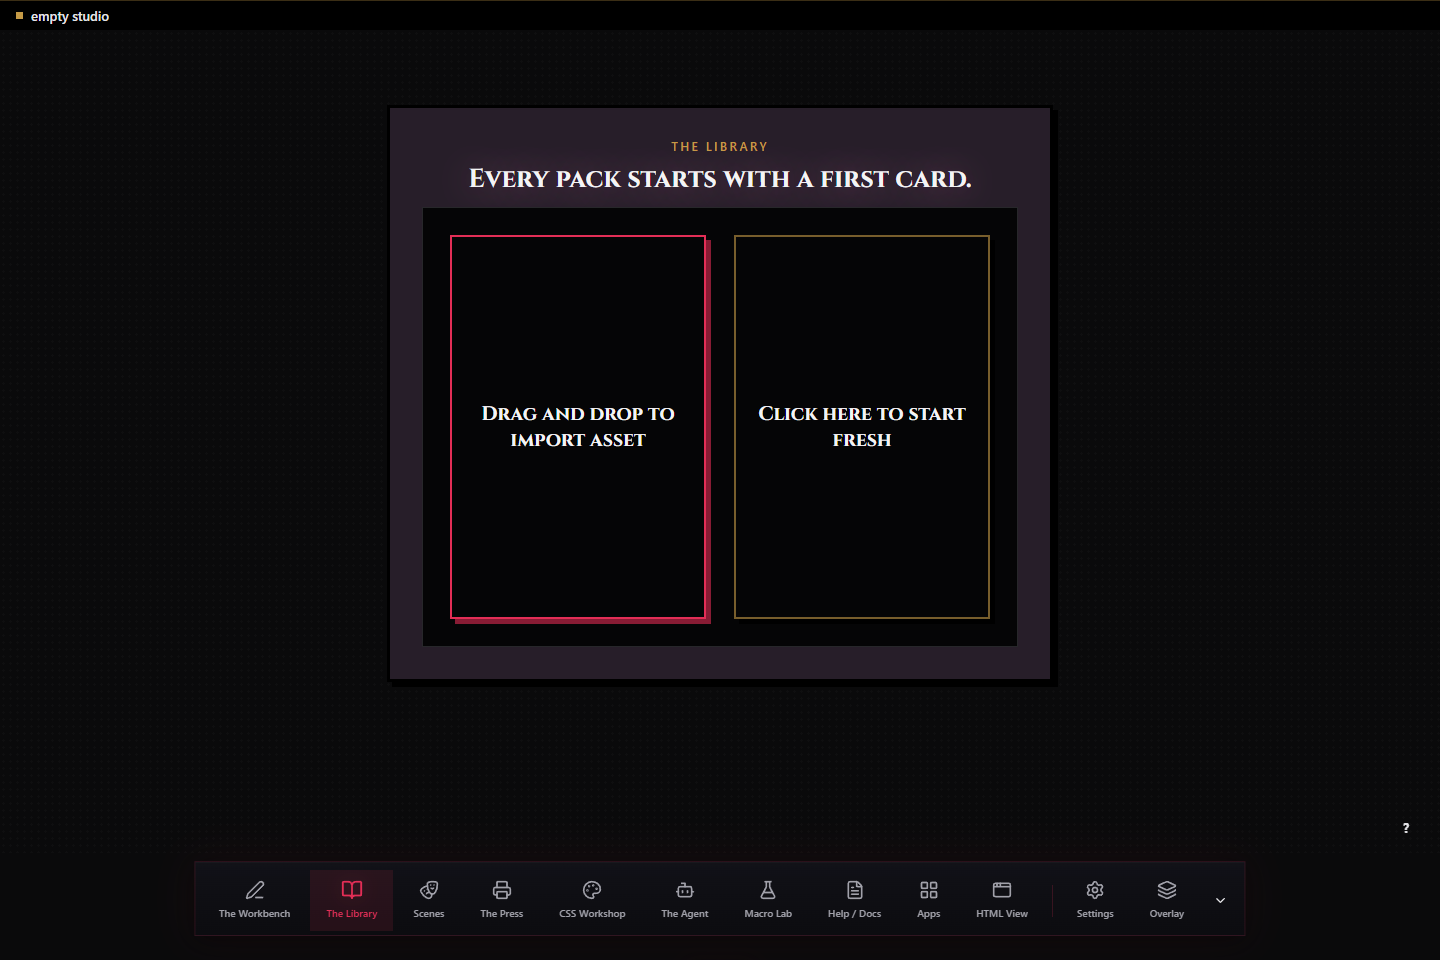
To play a scene, choose a character and start a scene from the Scenes app. To generate a reply, add a provider in Settings > Providers, then choose any of its models in the scene. Importing, editing, and converting files do not require a provider. A submitted scene turn sends its assembled request to the provider you selected; any provider account or usage charges are separate from Bunzai.
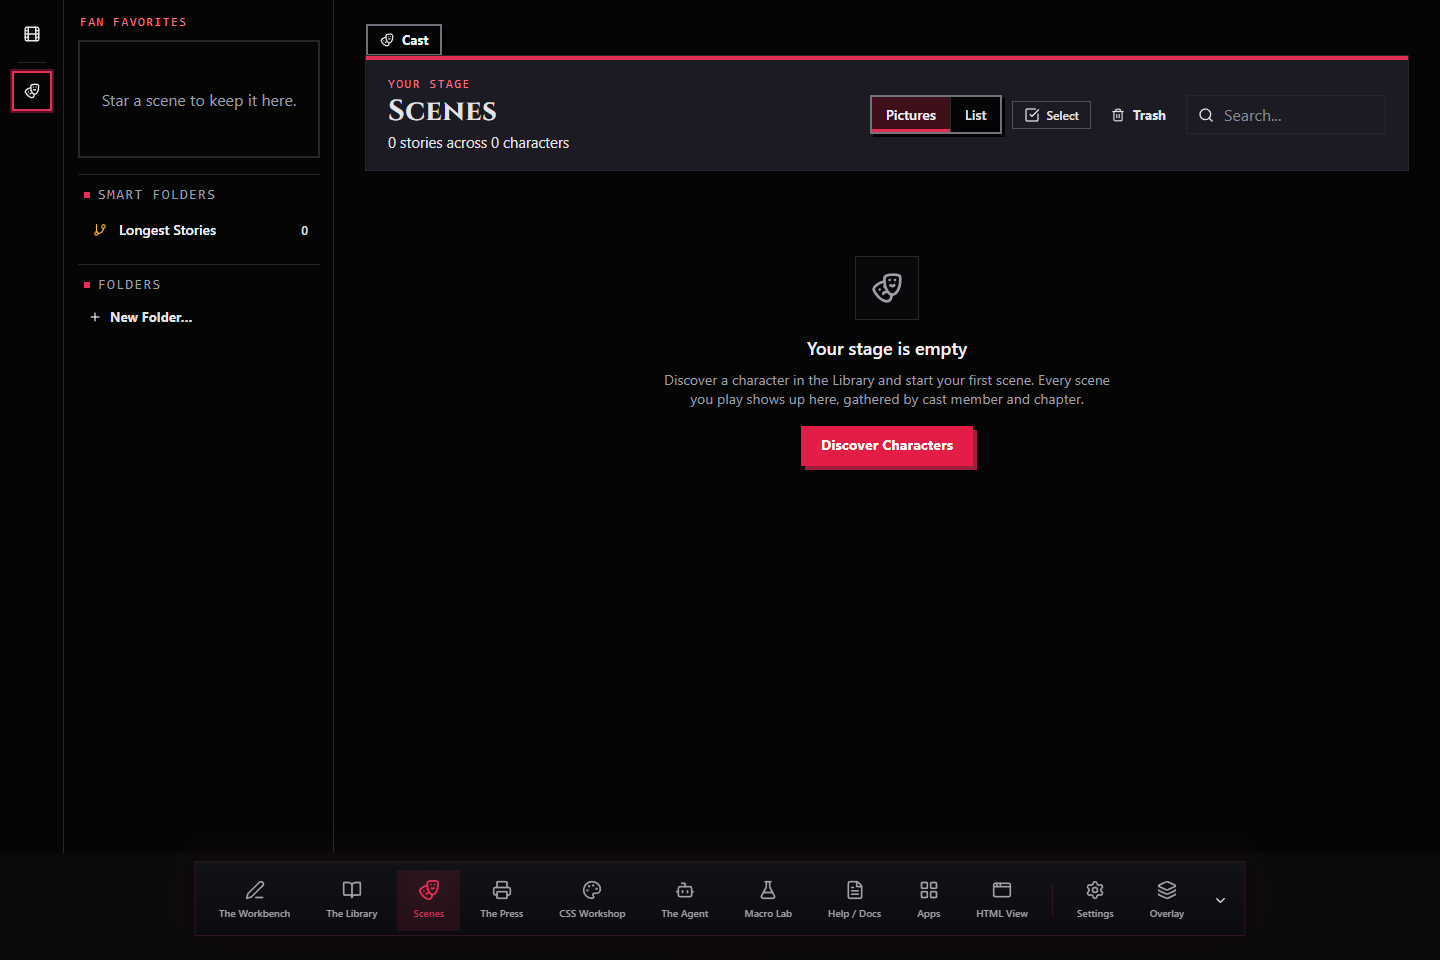
The screenshots above show a disposable local setup. They contain no account credentials or real provider keys.
Your library and recovery
The installed Studio keeps its encrypted SQLite library in library.db inside the studio folder. Unless you choose another folder, that folder is Documents/Bunzai Studio in your user profile. The terminal prints the exact path when the server starts. To use another folder, pass it after the port:
bun run src/cli.ts ui 8321 path/to/my-studio
Keep a backup before moving the library or updating a source checkout. In the Studio, use Settings > Backups to make a protected backup. A copy of the studio folder includes the encrypted database and its snapshots, but it may also need the password or recovery words and the computer's local key material to open. Keep the recovery words somewhere separate from the computer. Settings > Security explains the password and recovery options for the current library.
The source checkout and your studio folder are separate. Updating or removing the checkout does not delete the studio folder. A newer application can migrate the database when it opens, so make a protected backup before updating. Delete that folder only when you intend to remove the library data; exporting pieces creates a plain, unencrypted folder that should be protected separately.
Update a source checkout
Stop the running server with Ctrl+C. From the Bunzai checkout, update the source and its pinned submodule, then install the recorded dependencies again:
git pull --ff-only
git submodule update --init --recursive
bun install --frozen-lockfile
bun run dev
The update commands do not delete your studio folder, though a newer program may migrate its database on startup. Make a backup first if the library matters to you. If Git reports local changes or cannot fast-forward, stop and review those changes instead of forcing a reset.
If something does not open
- Bun is missing or too old: run
bun --version; this checkout pins 1.4.2. Follow Bun's official install or upgrade steps, open a fresh terminal, and check again. - RP-Core or another package is missing: from the checkout, run
git submodule update --init --recursive, thenbun install --frozen-lockfile. - The address differs from 8321: Bunzai prints the address it actually bound. Open that address, not a guessed port.
- The Windows desktop app starts without a window: Windows desktop builds use WebView2. Microsoft's distribution guide explains the runtime requirement; the WebView2 download page provides Microsoft's installer options.
- A binary does not match your computer: packaged binaries are platform- and architecture-specific. Check the exact asset name and published checksum on the same GitHub release. The source workflow's platform list does not make an unpublished download available.
- The remote-access helper is unavailable: current supported app builds include it. Older apps or source checkouts can use the verified helper download in Settings > Remote access when one is offered. If preparation fails, ordinary local Studio use remains available; the helper is not enabled by downloading or preparing it.